
Walk-In ShowerInstallation Manchester
Tray, traylite former or full level-access — we design and install walk-in showers to your specification. Thermostatic valves, frameless glass, full waterproofing and tiling. Survey first, written quotation before any work starts.
What We Fit
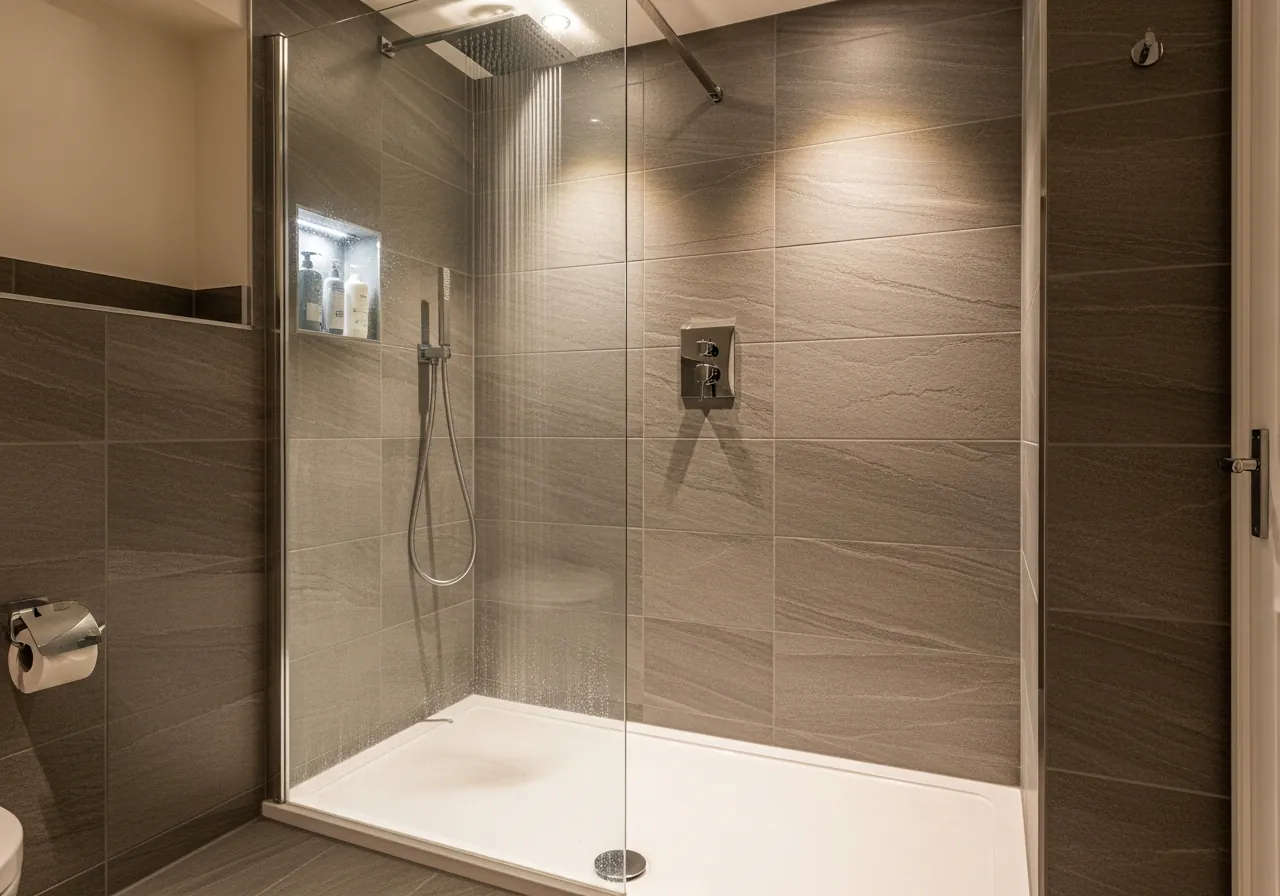
Walk-in showers to suit every bathroom — from low-profile trays to fully level-access wet room finishes
Tray & Former Options
- Standard raised trays
- Low-profile traylite formers (25–40mm)
- Level-access (wet room) conversions
- Correct waste connection
Glass & Enclosures
- Fixed frameless glass panels
- Sliding door enclosures
- Bifold door enclosures
- 8–10mm toughened safety glass
Valves & Controls
- Thermostatic concealed valves
- Manual mixer valves
- Dual-outlet (drencher + hand-held)
- Digital shower systems
Wall Finishes
- Porcelain and ceramic tiles
- Large-format tiles
- Solid surface panels
- Feature tile designs
Showerheads
- Overhead drencher / rain heads
- Riser rail and hand shower
- Ceiling-mounted arms
- Wall-mounted fixed heads
Plumbing & Electrics
- First and second fix plumbing
- Waste relocation where required
- Thermostatic valve supply
- Part P electrical certification
What we need from you
Decisions that affect the quote
The more clearly you can describe what you want before the survey, the more useful our initial response will be. You don't need every decision made — but having a view on these helps us understand the scope and give you a more accurate indication of cost.
Tray type — raised tray, traylite former, or level-access
A standard acrylic or stone resin tray sits on the floor at 40–100mm height. It is the most straightforward and cost-effective option — the tray provides the waterproofing and the waste connection is simple. Good for most bathrooms where accessibility is not a priority.
A traylite or low-profile former (typically 25–40mm) sits flush or near-flush with the floor. The tray or former is set into a bed of screed or sits in a cut-out, giving a much sleeker appearance and a lower step height. It requires more floor preparation but avoids the full complexity of a level-access installation.
A level-access (wet room) conversion removes the tray entirely — the floor is tanked, screeded to fall, and a drain set into the floor. This is the most accessible option but requires more preparation work, particularly on a timber floor, and the waterproofing scope is larger. If you want fully level access, let us know at the outset so we can assess the floor construction during the survey.
Wall finish — tiles or solid surface panels
Tiles remain the most popular choice for shower walls: durable, water-resistant and available in a huge range of finishes and formats. The key is the grouting — grout lines in the wet zone need to be sealed and maintained over time. Porcelain is the most practical material; large-format tiles (600×1200mm or similar) look impressive and have fewer grout lines but require a flatter wall to fix to.
Solid surface panels — thick acrylic or composite boards bonded directly to the wall — have no grout lines, which makes them very easy to clean. They can look extremely clean and contemporary. The quality of the join between panels and at the floor junction needs careful attention. Mid-to-upper-range panels perform well; budget-grade products can flex at the joins over time.
Telling us your preference before the survey helps us advise on cost and timescale more accurately.
Enclosure — fixed glass, sliding door, bifold, or open screen
A fixed glass panel (or open-sided walk-in) is the cleanest look — a single sheet of toughened glass fixed to one or two walls, typically 8–10mm thick. No moving parts means nothing to maintain or re-seal. Works best in larger shower areas where the toilet and basin are far enough from the spray zone.
A sliding door enclosure provides full enclosure while requiring no swing clearance — important in compact bathrooms. The bottom track needs regular cleaning to prevent mildew, and the rollers require occasional attention.
A bifold door folds in on itself, useful where swing clearance is very limited. More moving parts than a sliding door but can work well in awkward spaces.
For fully frameless glass, the glass is typically 10mm minimum and the fixings go directly into the tiled or solid wall. It looks premium but requires the wall behind to be solid enough for the fixing loads.
Shower valve — thermostatic vs manual
A thermostatic valve maintains water temperature automatically even if a tap is run elsewhere in the house — important for safety (particularly in homes with children or elderly users) and for consistent comfort. A separate stop valve on the outlet lets you switch the water flow on and off while the temperature stays set.
A manual mixer valve is simpler and less expensive, but the temperature needs adjusting if the mains pressure changes. Fine for single-occupancy or properties where water pressure is stable.
We will confirm valve compatibility with your water pressure and flow rate during the survey — some high-flow valves need a minimum incoming pressure that older properties cannot always supply.
Showerhead — overhead drencher vs standard rose
An overhead drencher (also called a rain head or ceiling-mounted head) is fixed directly overhead and provides a wide, rainfall-style flow. It requires either a ceiling-mounted arm or a wall-mounted arm extending to position the head centrally over the shower area. The water consumption is typically higher than a standard rose, so it suits properties with good flow rate.
A standard wall-mounted or riser rail rose is the traditional option — adjustable height, lower flow rate, and easier to direct. A dual-outlet valve can give you both a drencher and a hand-held on separate outlets.
If you have an older property with lower water pressure or flow rate, we will advise at the survey stage whether a drencher will perform adequately or whether a pump would be needed.
Shelf and storage — recessed niche vs external caddy
A recessed tile niche — a shelf set into the wall between studs or cut into a blockwork wall — looks very clean and takes up no floor space. It needs to be built during the first-fix stage before tiling, and the waterproofing must be applied inside the niche as well as the main walls. The position is fixed once tiled, so it is worth thinking about height and location before work starts.
An external caddy (a freestanding or hang-on shelf unit) is simpler and more flexible, but can look less integrated in a high-finish bathroom. Corner caddies work well in smaller shower areas.
If you want a recessed niche, mention it before the survey — it is easy to include at the right stage but awkward to add after the walls are tiled.
Not sure yet? That's fine.
You don't need to have made any of these decisions before the survey. Bring your questions and we'll go through the options with you on the day. Submitting photos and rough dimensions beforehand helps us prepare more useful advice in advance.
Open CHP Hub — submit photos & request a surveyFrom enquiry to completion
How the installation works
A level-access shower has more stages than a standard tray installation because the waterproofing preparation is critical and cannot be rushed. Here is what the full process looks like from start to finish.
Submit your request
Open CHP Hub and add photos of the existing shower or bathroom space, approximate dimensions, and what you want to change. Note whether you want a tray, low-profile former or level-access (wet room) finish — this determines the scope of preparation work significantly.
Site survey
We visit to measure the space, assess the floor construction, check the existing waste position and drainage route, inspect the water supply and pressure, and confirm which tray or level-access solution is suitable. For level-access installs we also check for flex in timber floors and assess whether tanking will be on the floor only or extending up the walls.
Written quotation
You receive a written quotation detailing the full scope — strip-out, floor preparation, waterproofing (if level-access), tray or former supply and fit, tiling, enclosure or glass, valve and fittings, and any additional work identified at survey. No work starts until the quotation is agreed.
Materials order
Tiles, tray or former, enclosure, valve and fittings are ordered. Lead times vary by supplier — we confirm the expected delivery window before booking the installation start date so no time is lost waiting for materials on site.
Strip-out of existing shower
The existing tray, enclosure or bath is removed and disposed of. Any discovered issues with the substrate — damaged plaster, damp, soft spots — are flagged and discussed before proceeding. Access routes are protected throughout.
First-fix plumbing
The new shower supply pipework is roughed in — hot and cold feeds to the valve position, and the waste connection to the drain. If the waste needs to move to a new position, the routing is confirmed and the pipe run is laid and tested before it is concealed. All pipework is pressure-tested before boarding.
Waterproofing and tanking (level-access only)
For level-access and wet room finishes, the floor is prepared to the correct falls toward the drain, a rigid substrate is laid if needed (on timber floors), and a liquid-applied tanking membrane is applied to the floor and lower walls. Reinforcing tape is embedded at all junctions. The membrane must cure fully before tiling — this stage cannot be rushed.
Tray or former installation
For tray and low-profile former installs, the tray is positioned and bedded level, the waste is connected, and the tray seal to the wall is dressed in preparation for tiling. The tray is tested for level and the waste run is checked.
Tiling
Floor tiles are laid first (with the correct falls on level-access installs), followed by wall tiles or solid surface panels. Grout colour is confirmed at this stage. On panel installations, all joints and the floor-to-panel junction are sealed with appropriate sanitary silicone.
Enclosure or glass fitting
The glass screen, sliding door, bifold or fixed panel is fitted and adjusted. The floor seal (if applicable) is dressed and all silicone joints between glass and tiles are applied neatly. Moving parts are checked for smooth operation.
Valve, fittings and second-fix
The shower valve is connected and set, the showerhead and arm are fitted, the niche shelf (if included) is grouted, and any accessories are installed. The waste cover is fitted and the drain is tested.
Snagging and handover
The shower is run to confirm drainage, temperature and flow are correct. All silicone joints and the enclosure seal are inspected. We walk you through how the valve works, explain how to maintain the grout and silicone, and clean up before leaving.
Ready to plan your walk-in shower?
Submit photos and details via CHP Hub or WhatsApp — we survey the space and provide a written quote before any work starts.
What affects the price
What affects the quotation
Walk-in shower costs vary considerably depending on the type of installation and the specification chosen. These are the main factors. Understanding them explains why a reliable price cannot usually be given without a survey.
Level-access conversion adds tanking cost
A fully level-access (wet room style) shower requires tanking the floor and lower walls, correct floor falls, and a drain set into the floor. This preparation work is more involved than fitting a standard tray and is reflected in the cost.
Glass thickness and frameless premium
Framed and semi-framed enclosures use thinner glass and are more cost-effective. Frameless glass panels use 10mm toughened glass and require precise fixings into solid walls — the glass and hardware cost is noticeably higher.
Tile format and pattern complexity
Standard-format porcelain tiles are cost-effective. Large-format tiles take longer to cut and lay correctly, particularly in a shower where the walls may not be perfectly plumb. Feature tiles and diagonal or herringbone patterns increase the labour time.
Valve specification
A basic manual mixer valve is the least expensive option. A thermostatic concealed valve with separate volume controls and multiple outlets is considerably more expensive in both hardware and fitting time.
Waste relocation
If the new drain or waste can connect where the existing one already runs, the pipework work is simple. If the waste needs rerouting to a new position — particularly on an upper floor where the route below is not straightforward — there is more work involved.
Floor construction
A concrete ground floor is generally more straightforward to prepare for level-access. A timber suspended floor on an upper floor may require substrate board and possible joist reinforcement, adding to the preparation time and cost.
Recessed niche shelving
A recessed tile niche built into the shower wall adds a small amount to the labour and materials cost but must be specified before the first-fix stage — it cannot easily be added after tiling.
Why CentralHeatPlumb?
Manchester's trusted walk-in shower specialists
Survey First
We assess floor construction, drainage routes and water pressure before quoting anything
Written Quotation
A clear written quote before work starts — no surprises mid-project
Managed Project
Single point of contact, agreed timescale, tidy work every day
5.0 Google Rating
Verified five-star reviews from homeowners across Greater Manchester
Walk-In Shower Installation Across Greater Manchester
We cover all areas of Greater Manchester and surrounding boroughs
Walk-In Shower FAQs
Common questions from Manchester homeowners
Bathroom project reviews
What customers say about their completed bathroom and wet room projects
Amanda Foster
Didsbury
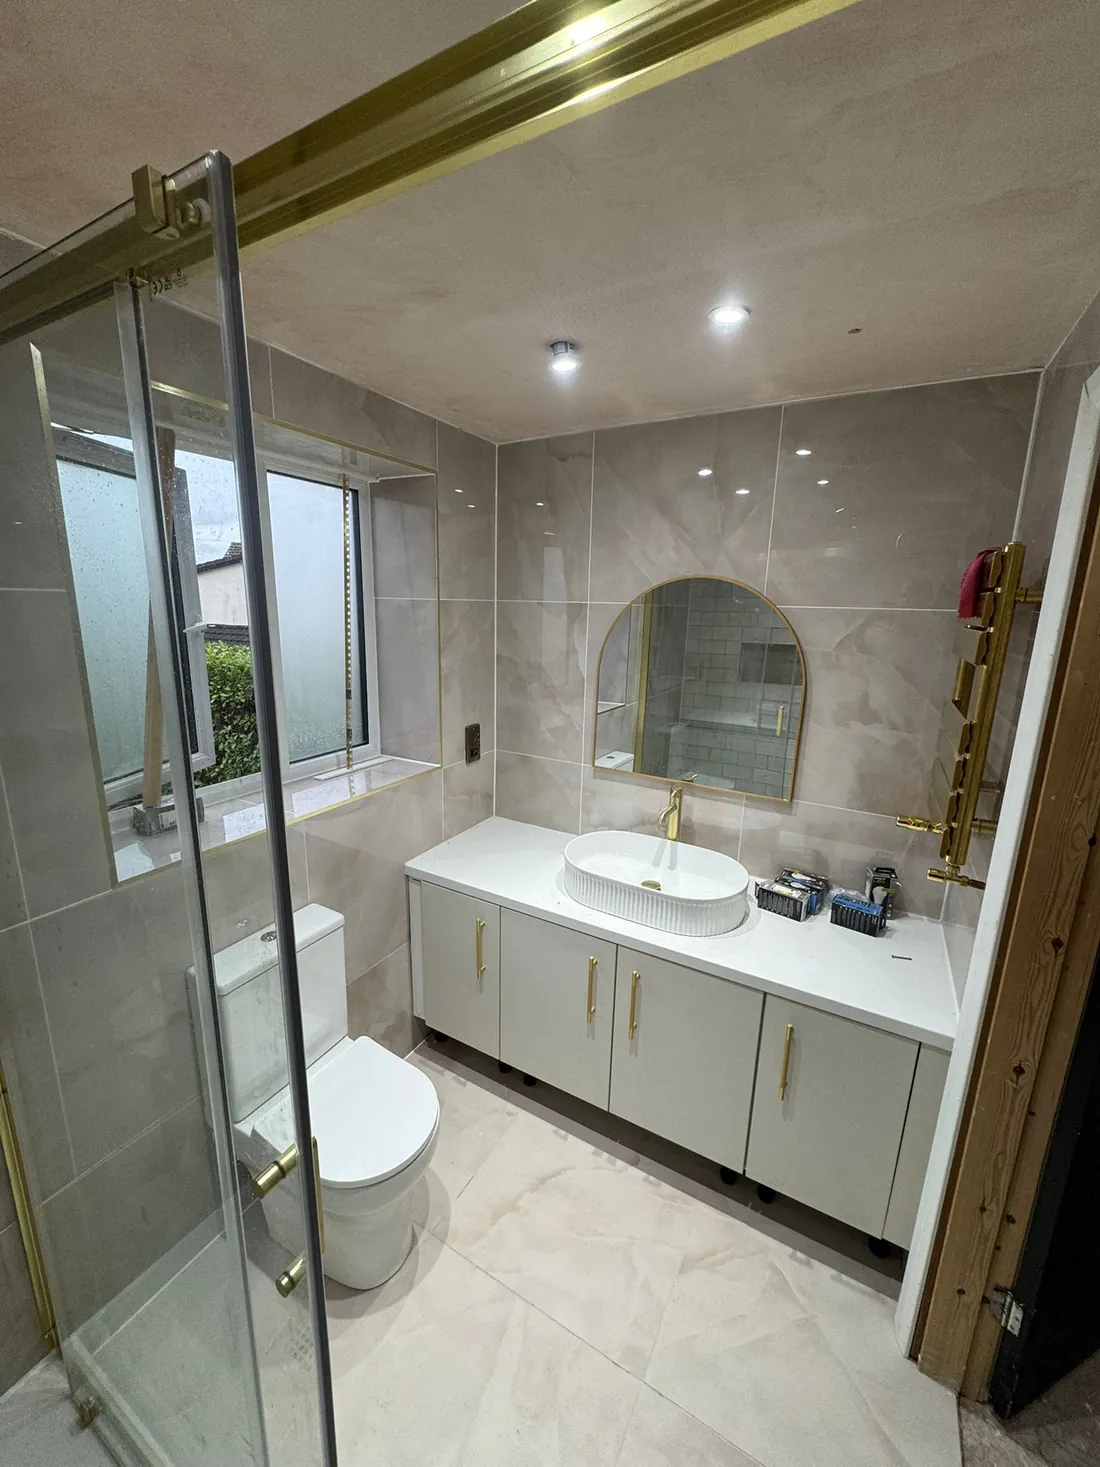
"Full renovation of our main bathroom — they removed a corner bath that had never worked properly, rerouted the waste, fitted a walk-in shower, new toilet and vanity unit. The tiling is to ceiling height on the shower wall and half-height on the others, which keeps it feeling light. Happy with every part of it."
Paul Henderson
Chorlton
"Wet room conversion in our ground-floor bathroom. The survey confirmed the concrete floor was suitable and the existing soil pipe could be adapted for the new drain position. They tanked the whole floor and lower walls before tiling. The drainage fall is correct — no pooling anywhere. The room feels much more spacious now the tray is gone."
Rachel Cooper
Sale
"Converted a large landing cupboard into an en-suite. I was worried it wouldn't be big enough for a proper shower but the layout they suggested works perfectly. Wall panels rather than tiles to keep the job time down, which the team recommended honestly rather than just defaulting to tiles. Looks clean and modern."
Mark Stevens
Urmston
"Small en-suite install — tight space but well designed. The survey picked up that one wall was a stud partition with very little depth for the shower valve pipework, so they used a surface-mounted valve rather than a concealed one. That kind of problem-solving upfront saved us time later. Tiling is neat and the room is exactly what we needed."
Claire Bennett
Altrincham
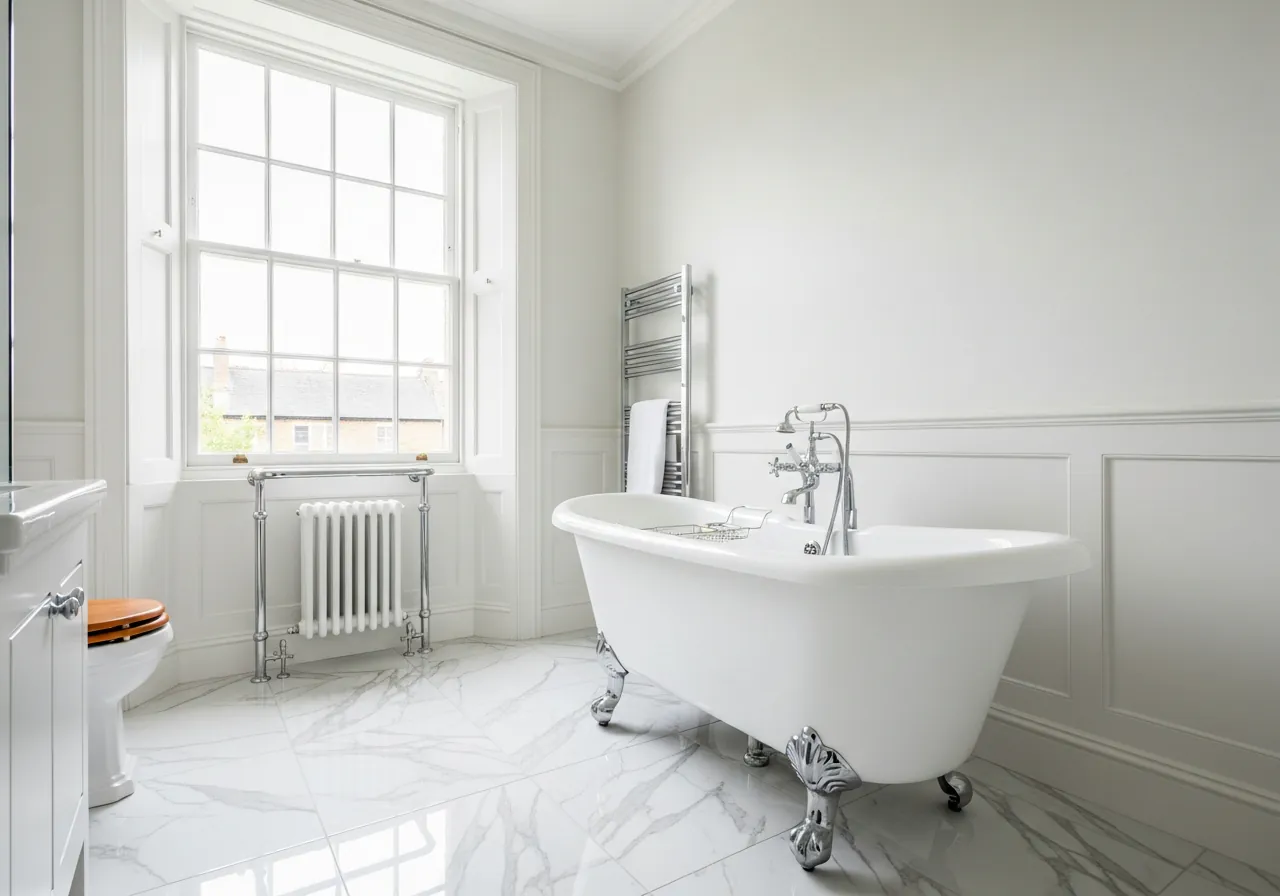
"Complete bathroom refurbishment including new soil connections, back-to-wall toilet, freestanding bath and separate shower enclosure. We chose to tile the shower area and use LVT flooring elsewhere — the team were helpful about the difference and what each would mean for maintenance and cost. Really pleased with how it came together."
Simon Parker
Stretford
"Accessible bathroom for my father — level-access shower area, fold-down shower seat, grab rails, non-slip floor tiles and a close-coupled toilet at the right height. The survey took about an hour and covered everything: drain position, existing floor strength, tile selection for grip rating. The result is practical, looks good and he can use it safely."